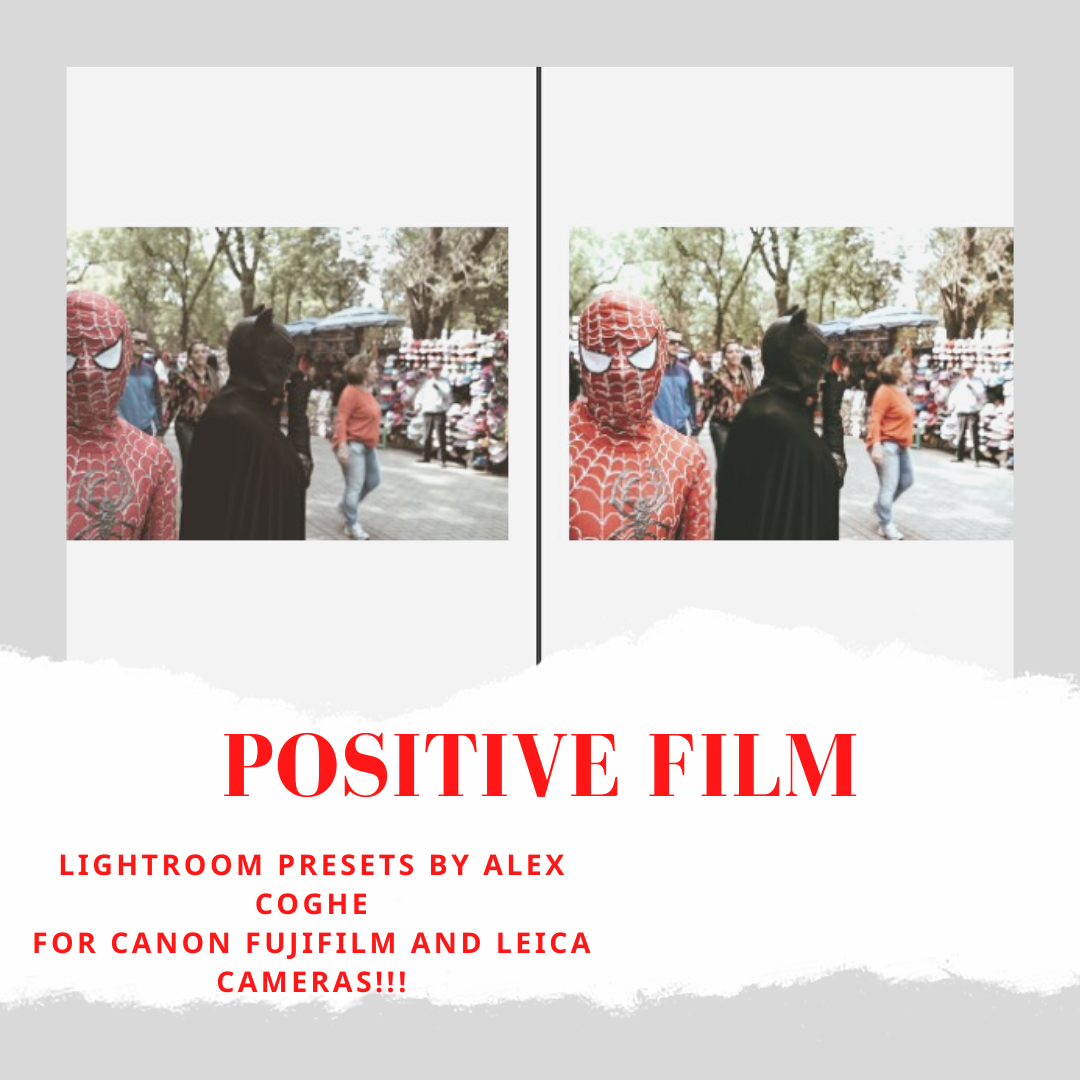
 Image 1 of 7

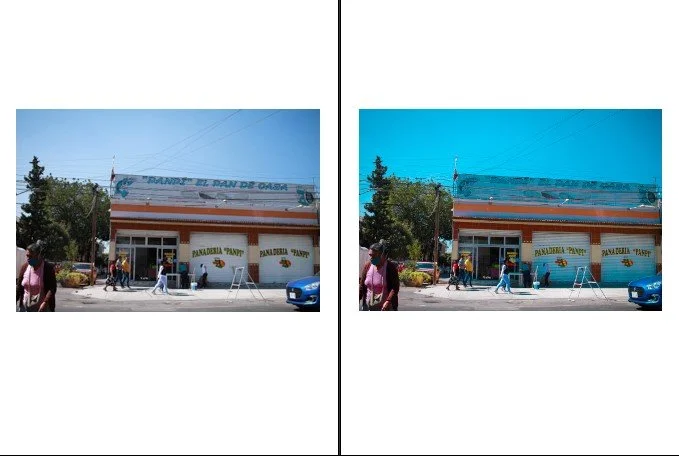 Image 2 of 7

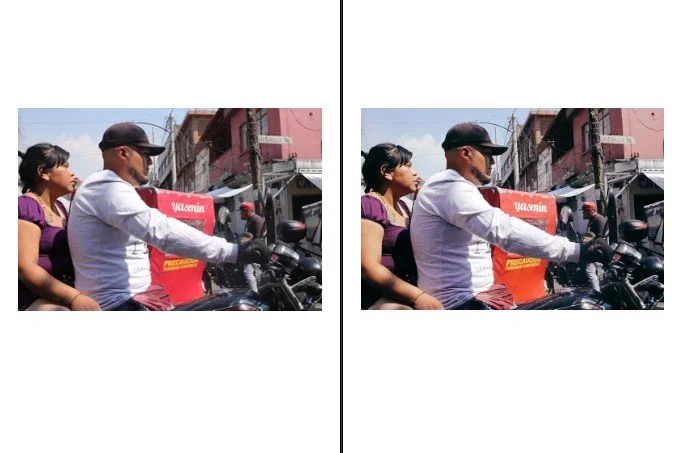 Image 3 of 7

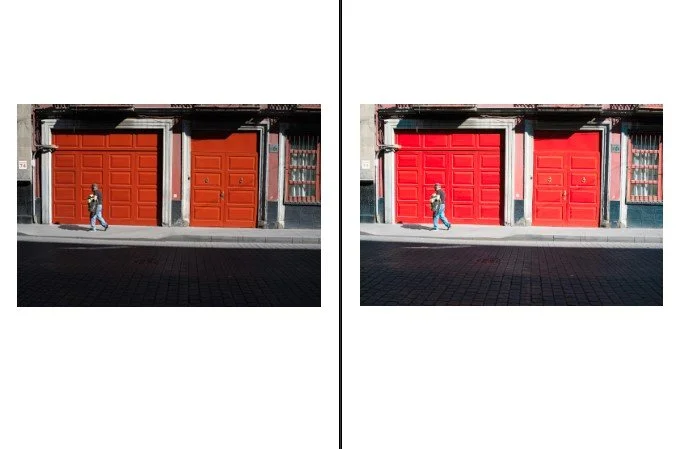 Image 4 of 7

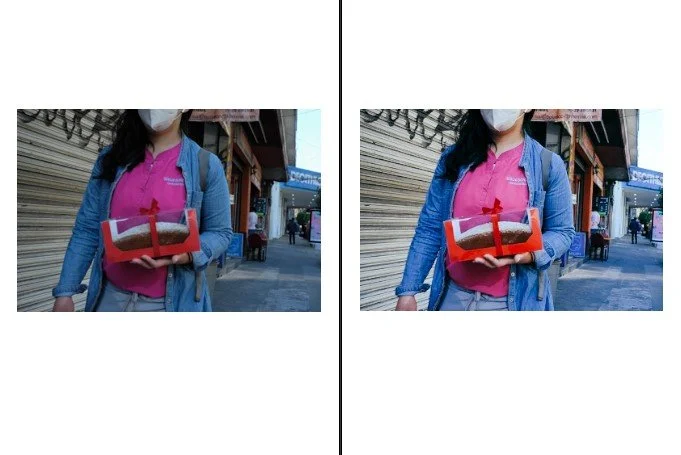 Image 5 of 7

 Image 6 of 7

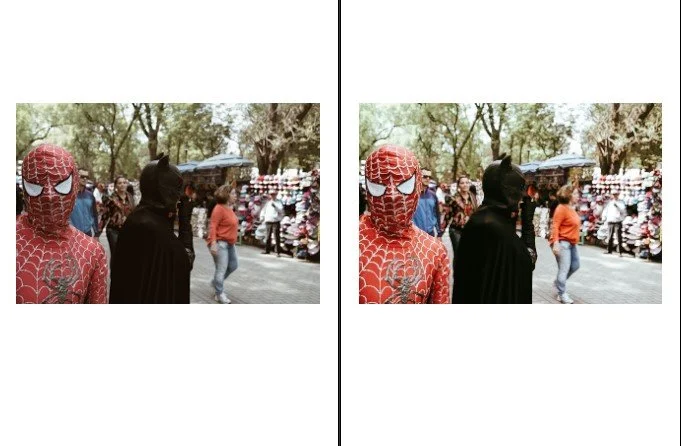 Image 7 of 7


POSITIVE FILM LIGHTROOM PRESETS
Thank you for downloading our Lightroom presets! We hope they bring your photos to life with creativity and style.
While you're here, why not explore our shop? It's filled with a curated collection of products designed to elevate your photography experience. From exclusive tutorials and ebooks to unique gear and artistic prints, there's something to inspire every photographer.
By supporting our shop, you not only enhance your own creative journey but also enable us to continue providing valuable resources like these free presets.
Explore our shop today and discover what inspires you:
When Ricoh GR released in 2013 the first APS-C sensor version of GR series, a camera respected by many street photographers, there was the positive film effect filter.
So many photographers love that simulation but not anyone owns a Ricoh camera .
Positive Film achieves to recreate the look of analog slidefilm. The Positive Film is works great with street photography. I created 2 presets that are based on the mood of positive film. These presets work also very well on Fujifilm RAW files.
THE PRESETS:
POSITIVE FILM
POSITIVE FILM ADVANCE
I created the presets with the idea to offer something that works with several cameras and so I can assure the simulations work great with Canon, fujifilm and Leica cameras. Of course, the advice is to tweak the basic settings of the preset to your taste every single photo, but you can count with a good start up for achieving that positive film mood that will push your photos.
How to Install in Lightroom Classic/CC on MacOS and Windows:
Download the ZIP file
Extract files
Open Lightroom and go to the presets window under the Develop module or through the preferences window in Lightroom Classic.
Click the + symbol
Click import presets
Find the file location of the unzipped preset files and select
You’re all set! The presets should appear in the Preset window.
Sometimes the presets once imported, still don’t appear so make sure you have unchecked “hide partially compatible presets” This can be found in the presets drop down menu or within the preferences window.
How to use:
You should consider these presets as a starting point for your editing process.

